
Crafting Hour
Beer + Crafts
The activity bringing me intense joy over the past few weeks. Grab a cold beer and come join me with this easy tutorial to make your very own 20” x 20” pillow cover.
Supplies
Cold Beer
Sewing Machine
Fabric (20” x 49”)
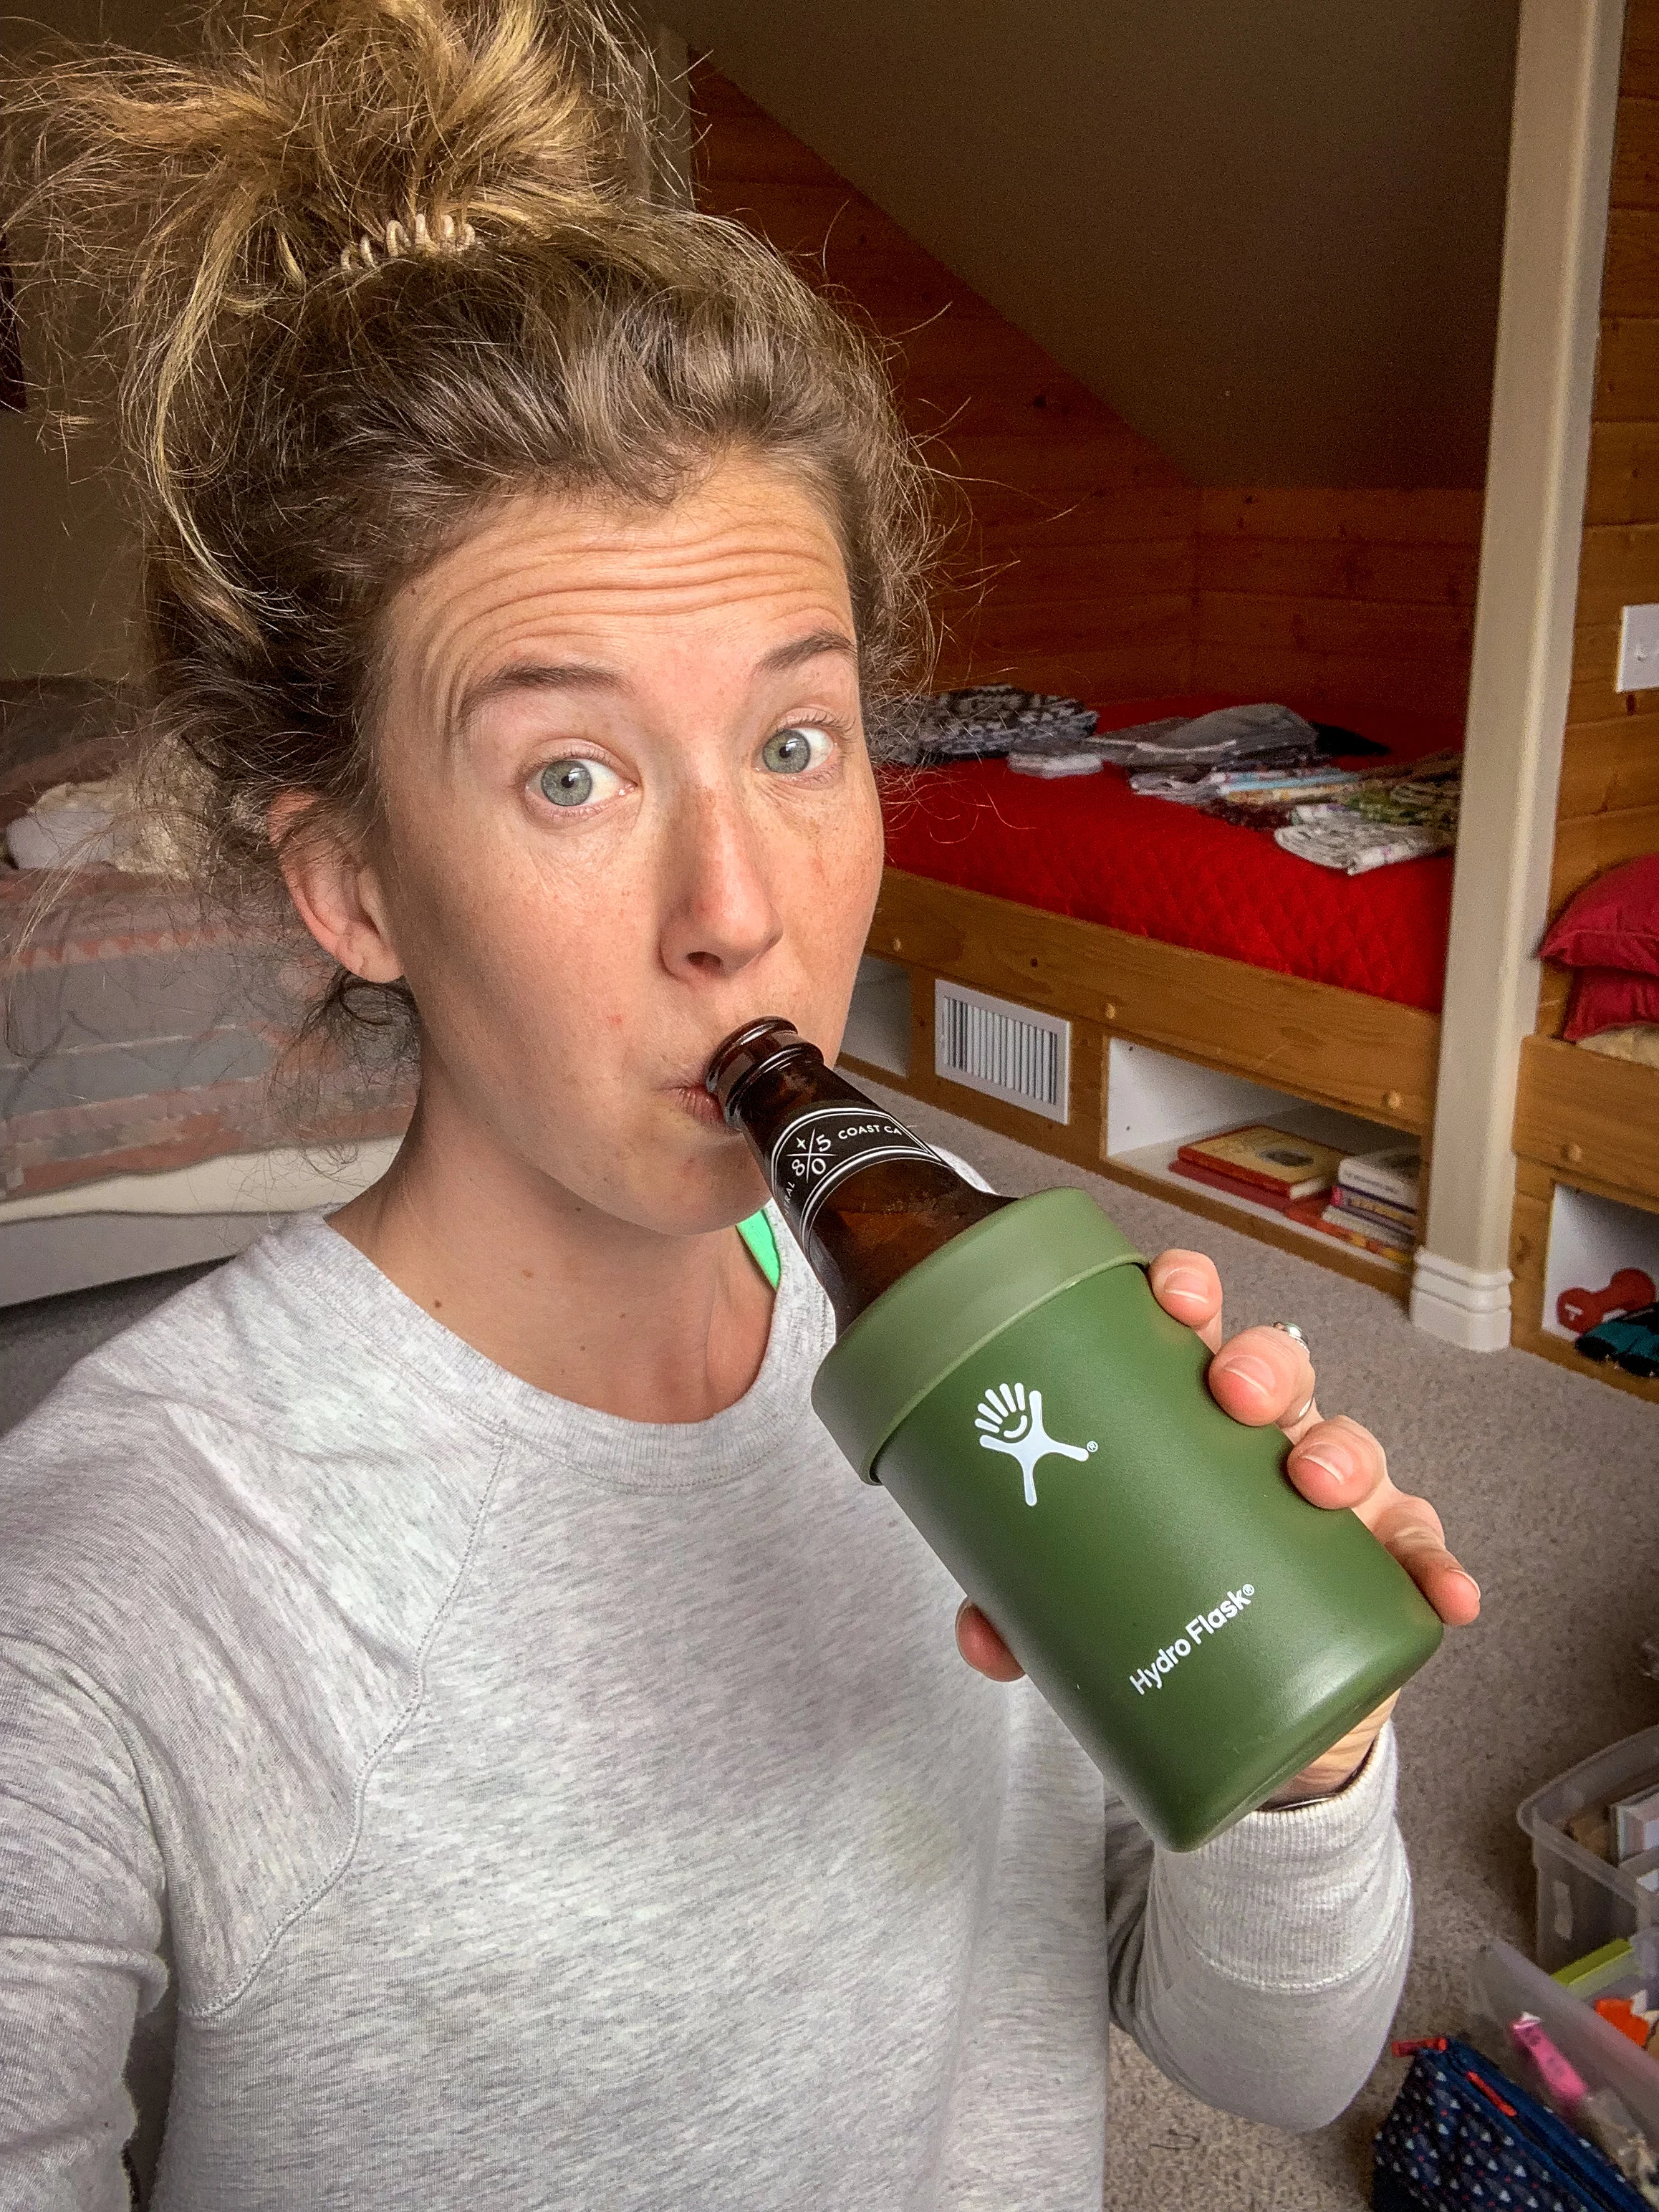
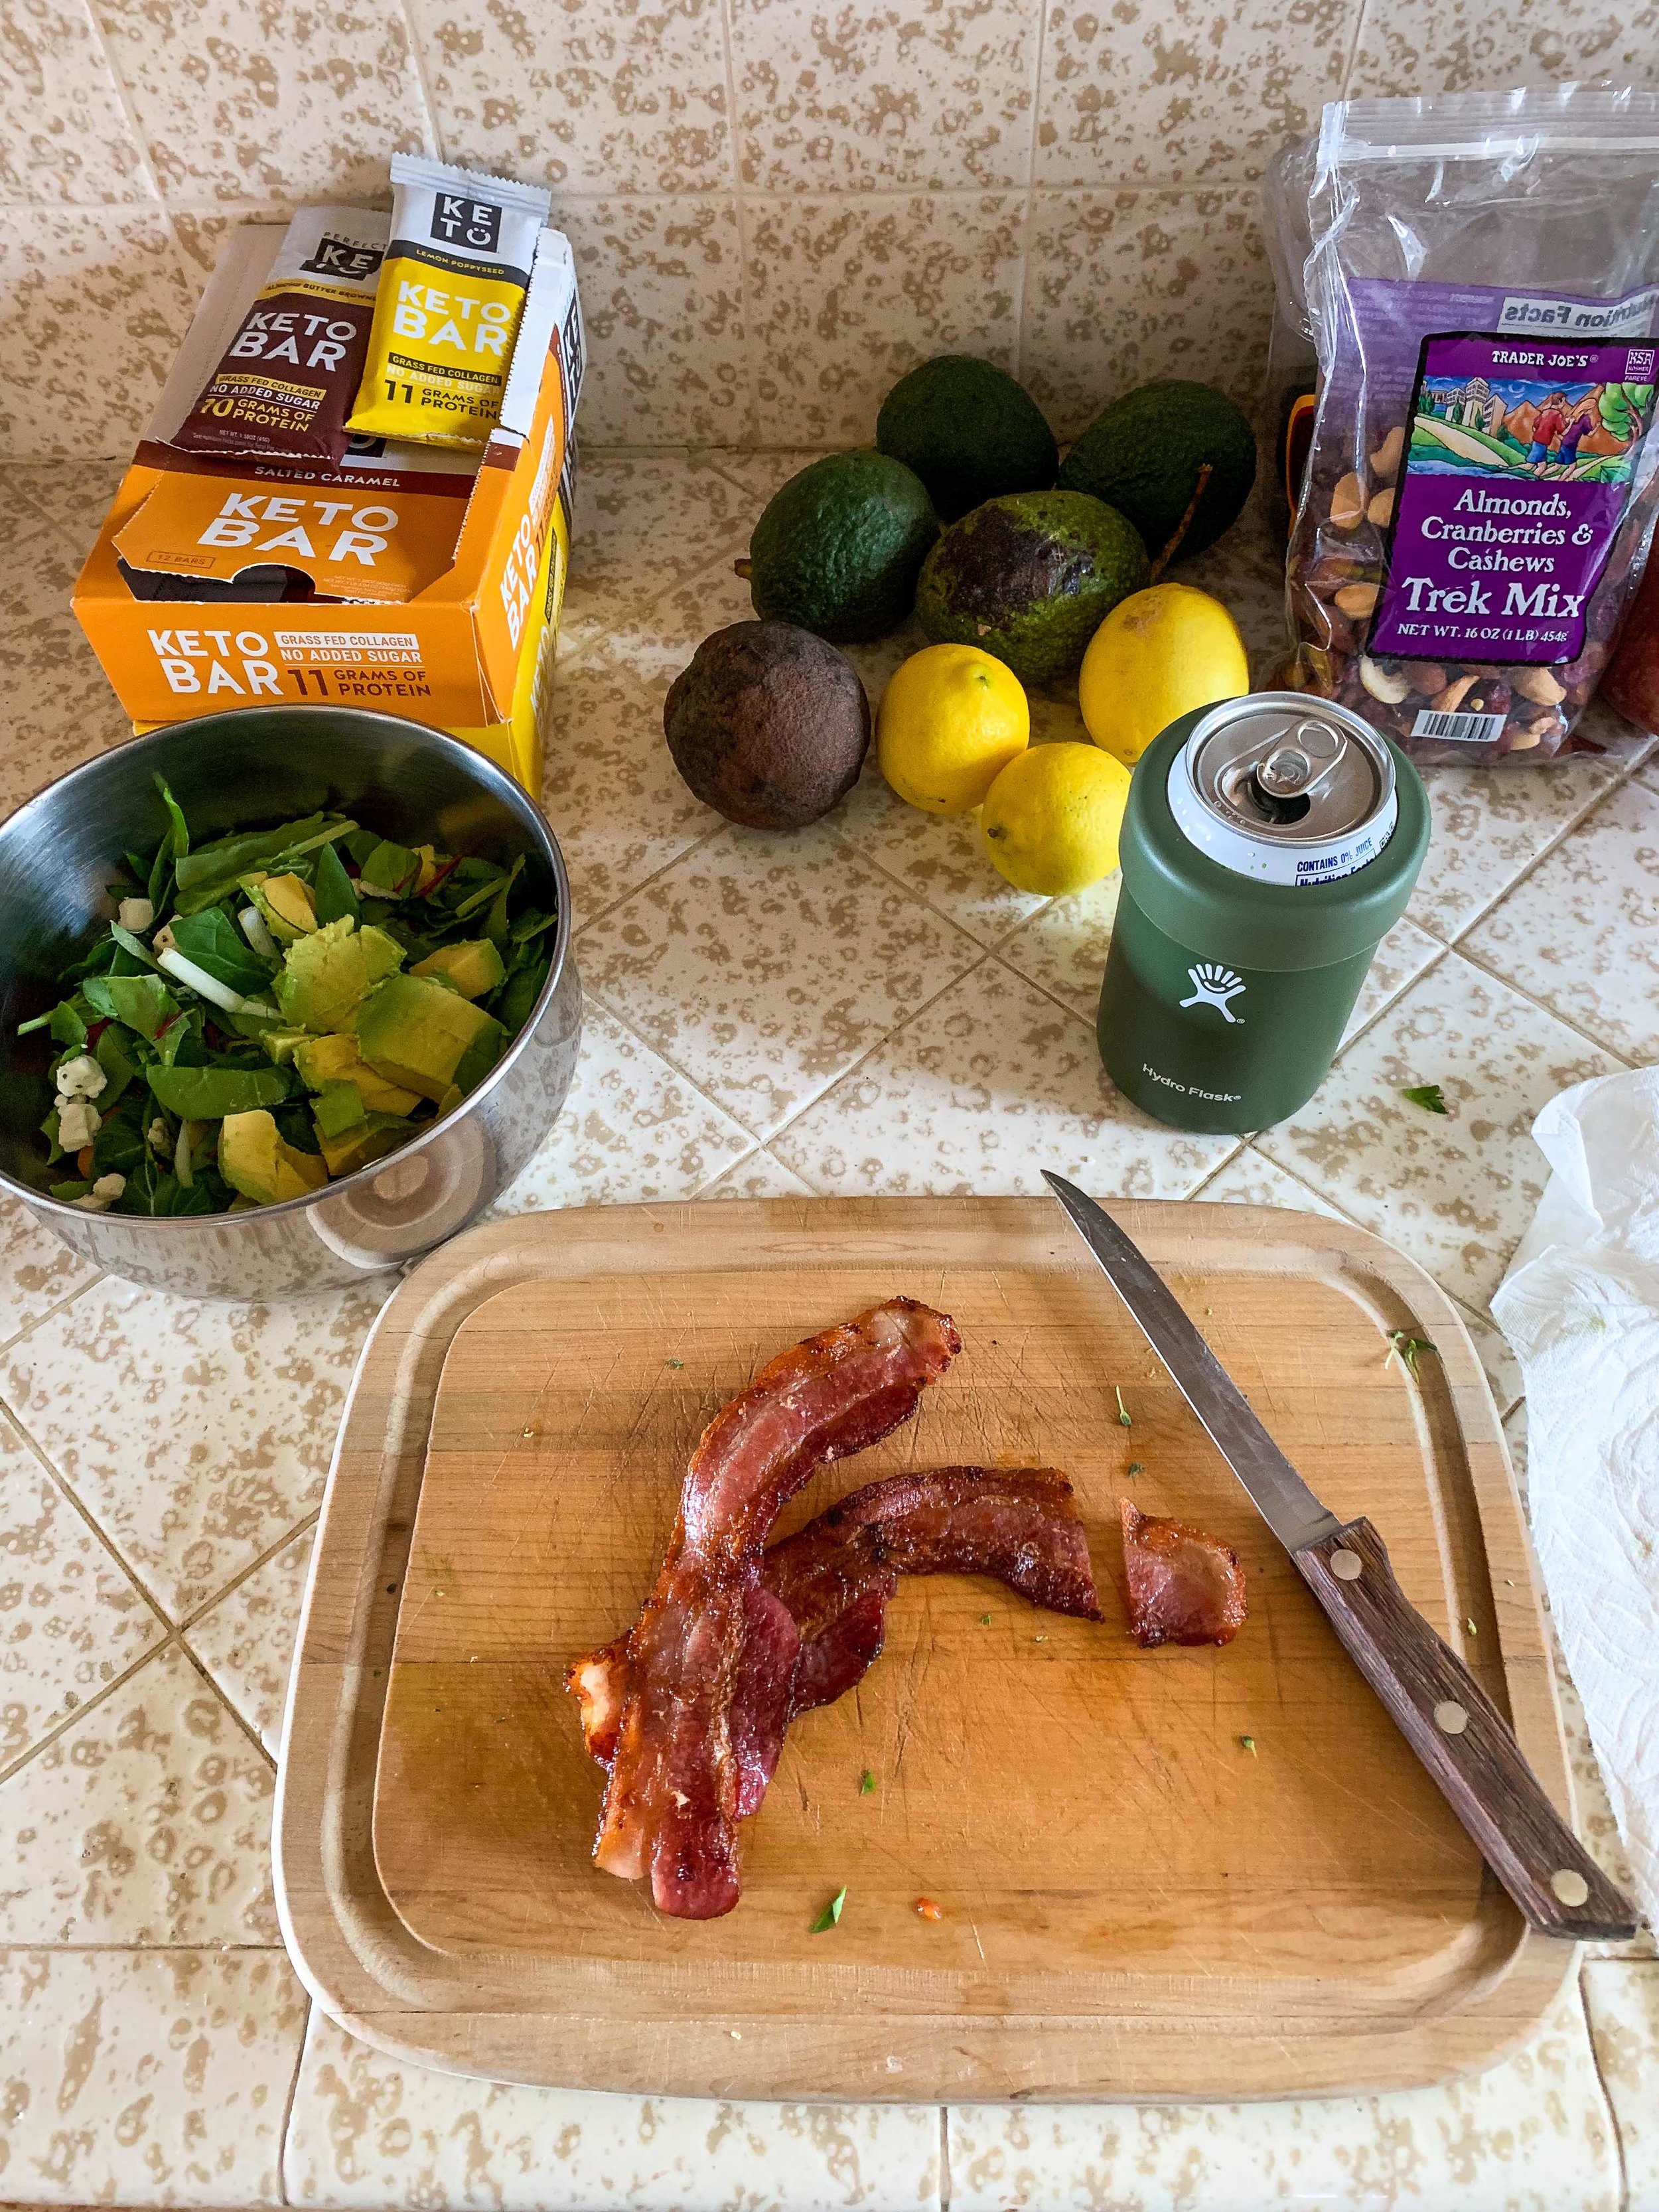
Step 1: Cold Beer
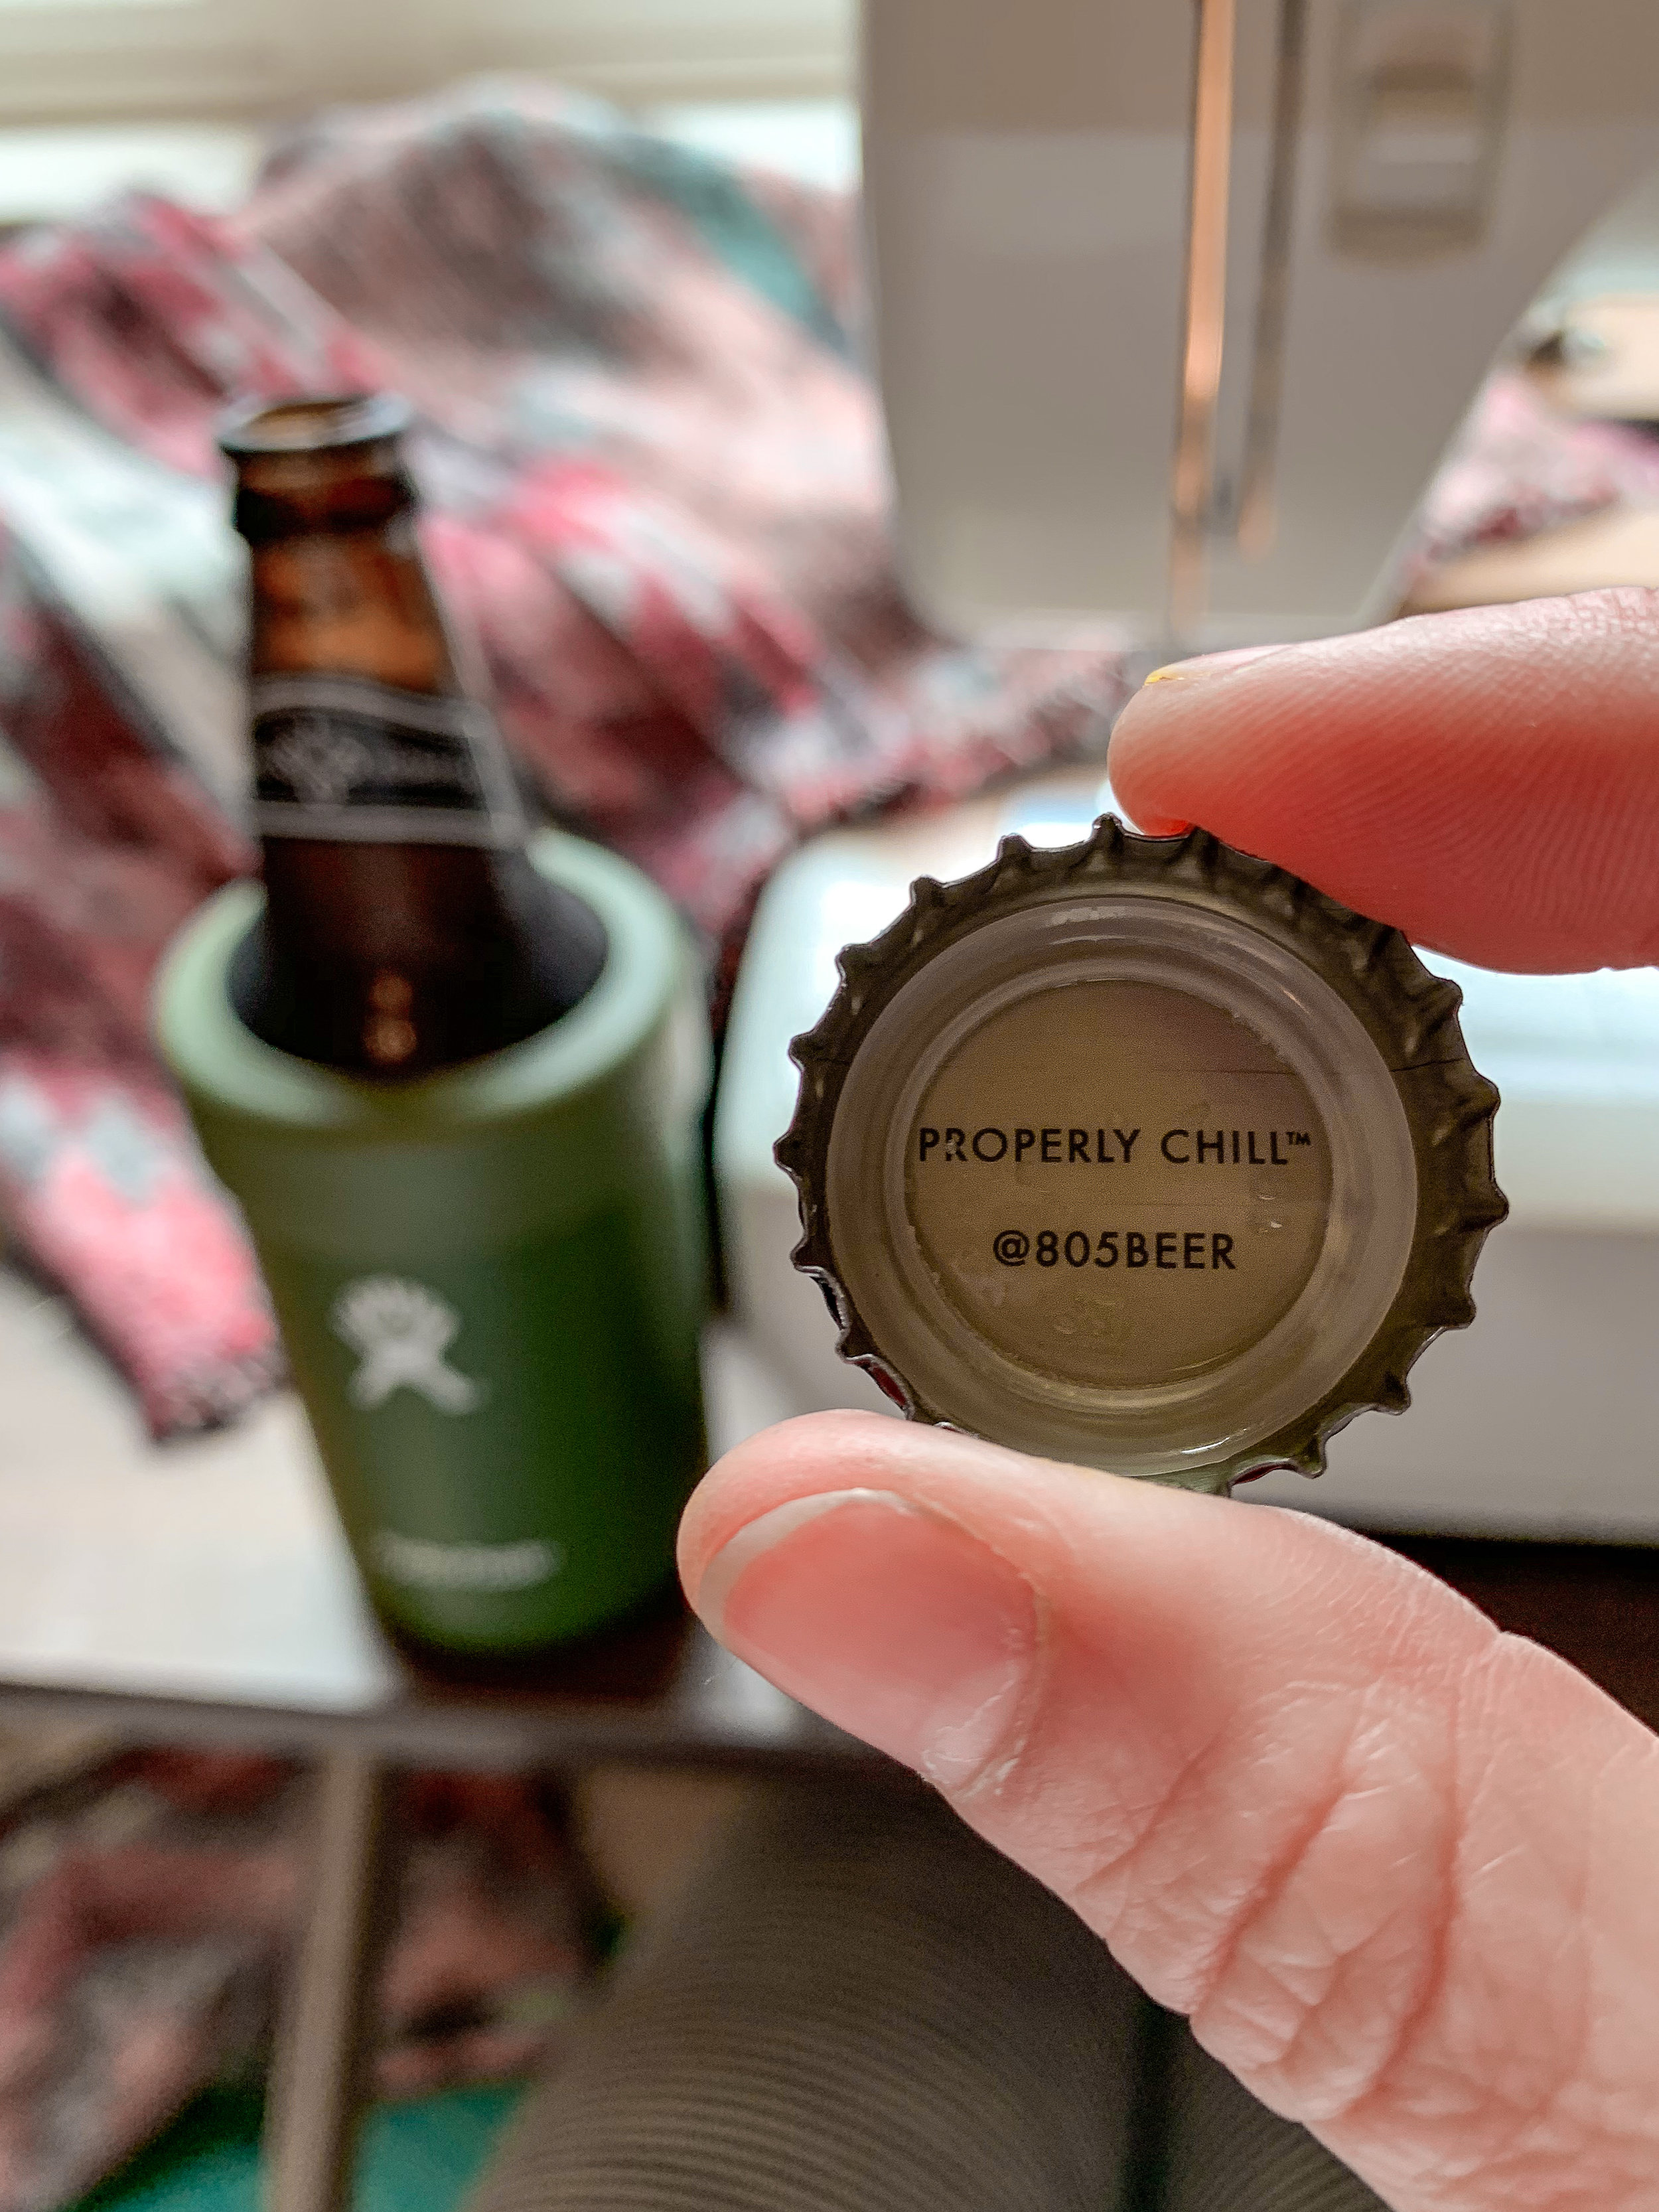
Grab a beer! Bonus: Keep it properly chill with Hydro Flask’s new COOLER CUP!

Step 2: Prep
Pick your fabric and make your cuts.
I purchased 1.5 yards of fabric (54” x 60”) and cut out a piece to the size of 20” x 49” for this pillow.
Not sure what to do at a fabric store?
Keep in mind: 1 yard = 36 inches and standard width of fabrics vary from ~42”+
How much fabric to buy at the store depends on the pattern / direction off the fabric you choose. Because I wanted my fabric pattern to show a certain direction on my pillow, I bought 1.5 yards (54” long x width of 60”) from Joann’s Fabric and Craft store. 1.5 yards gave me plenty of fabric to make 2x of these pillows and extra fabric for some other fun craft projects.
As a very visual person, I prefer to shop in store so I can see and feel before buy. I wait until Joann’s is having a fabric sale or some good coupons (which is almost always) and go stock up. In store, all you have to do is browse the aisles, pick your fabrics, get them cut at the counter and check out!


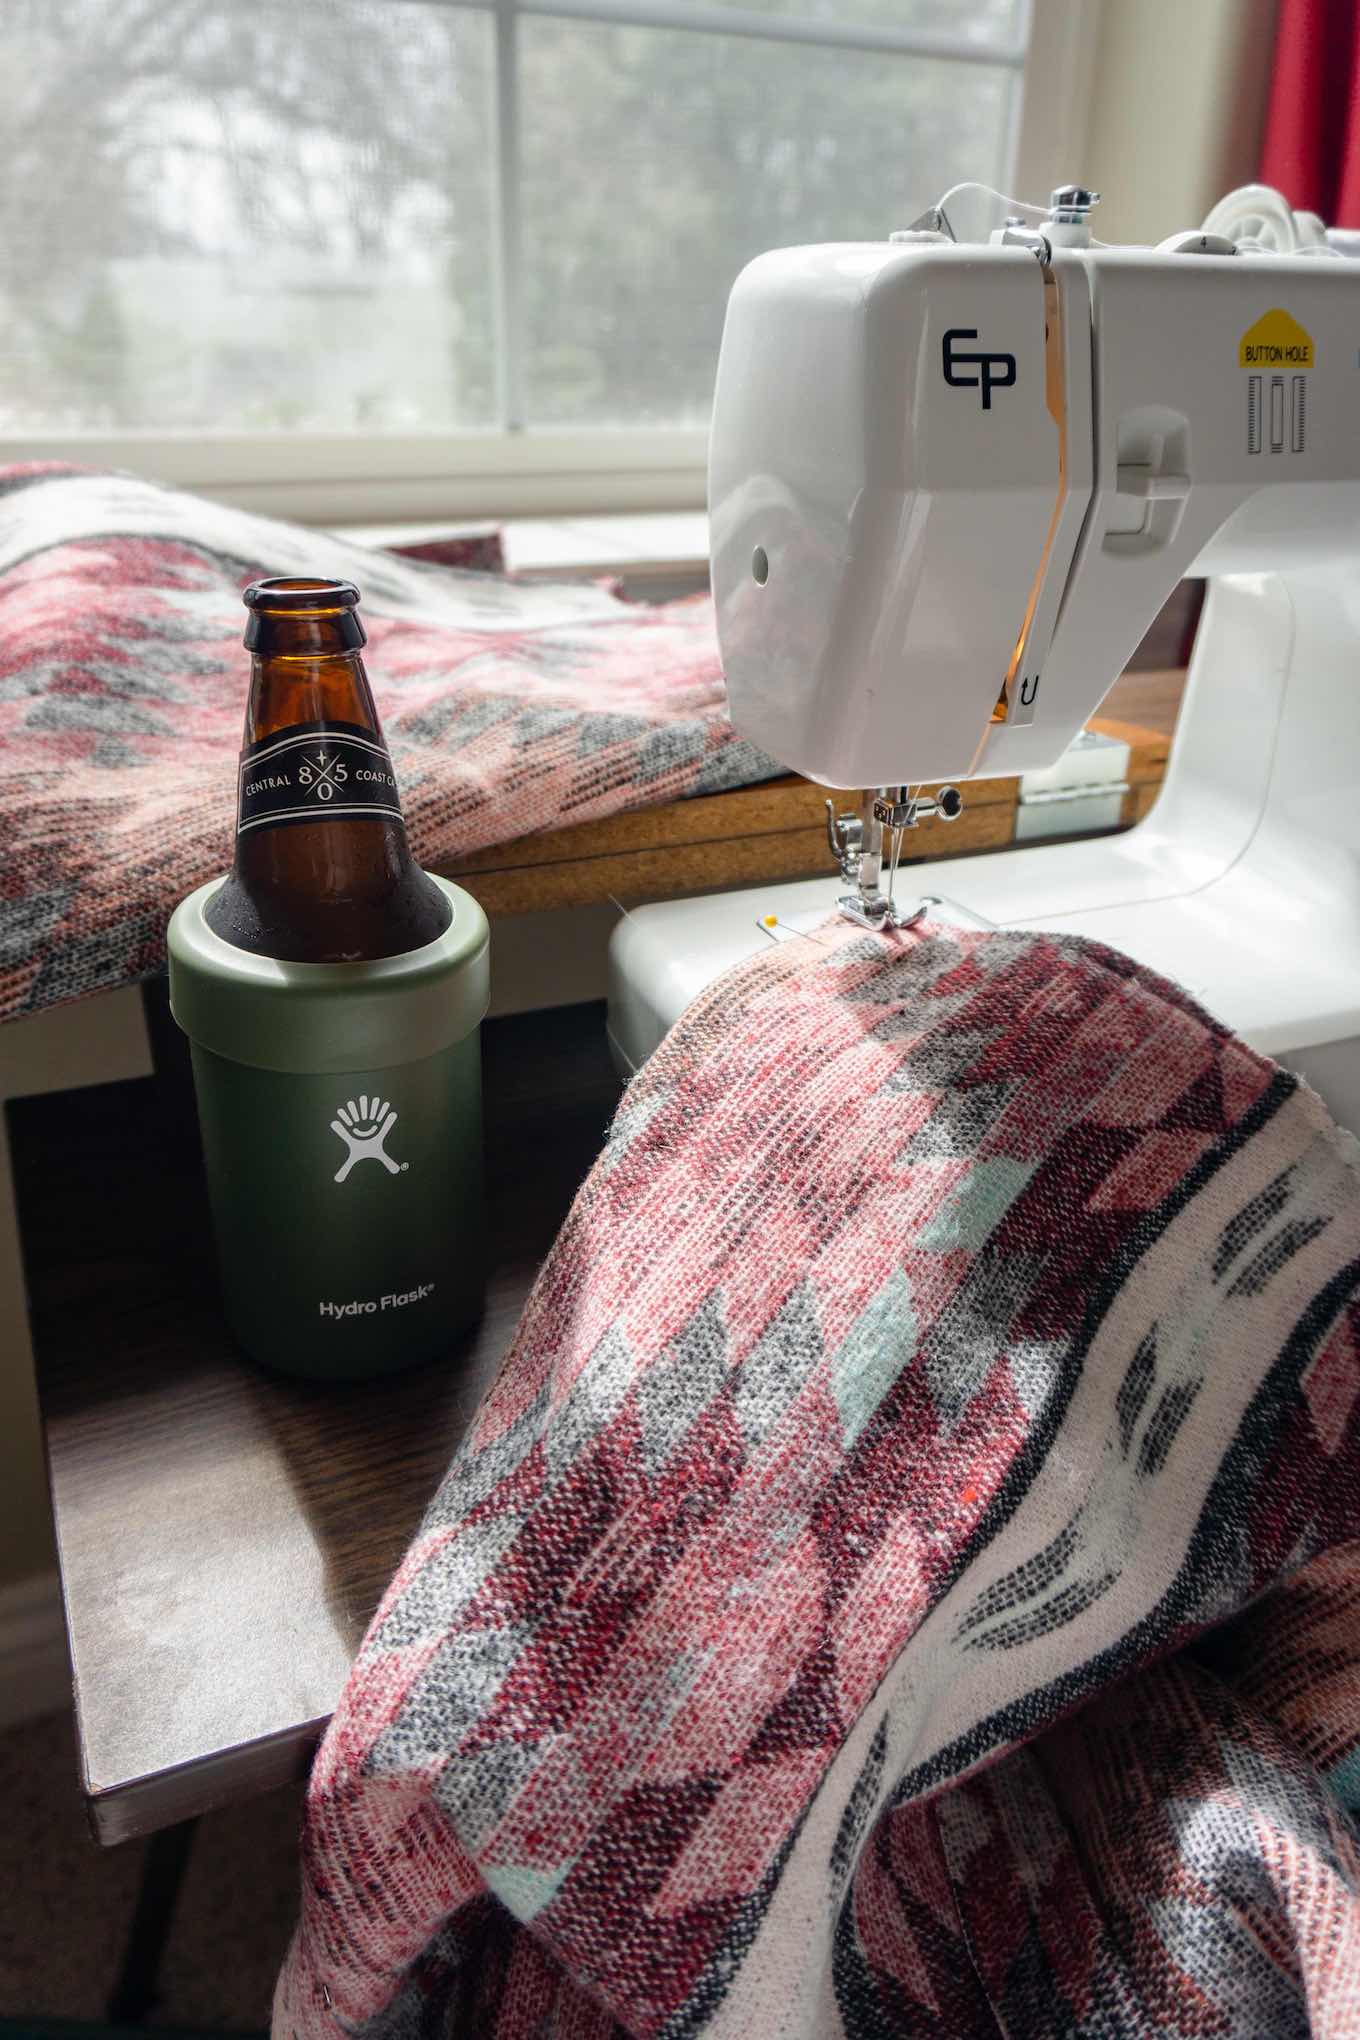
Step 3: Sewing
This assumes you have some basic knowledge of how to sew… but if you don’t, a short google and youtube session will fix that.
I love this design because you only need one piece of fabric - so easy! Once you have your piece of fabric cut to size, follow these easy steps to sew it together:
Hem
Sew 1” hem on top and bottom of cut fabric
Fold
You will fold inwards - i.e. your pattern is on the inside because when you are done sewing you will flip it inside out.
Fold the large flap inwards 1st, then the smaller flap.
I suggest pinning the folds in place before you start sewing.
Sip your beer
Sew seams
Sew 1/4” seam on right and left sides of fabric
Sew corners
Sew an additional ~1/2” seam on 4 corners (see diagram below if this is confusing)
This will help the pillow cover have a more natural shape without very pointy corners
Flip inside out to check out your work!


Step 4: Flip and Lay
Great work, you did it! Flip your cover inside out to check out your handy work. Insert your pillow into it’s new cover and voila!
To be honest, my pillow didn’t turn out perfectly square and I do not care! Love it because I made it.
Now it’s time to take a quick nap on your new pillow.

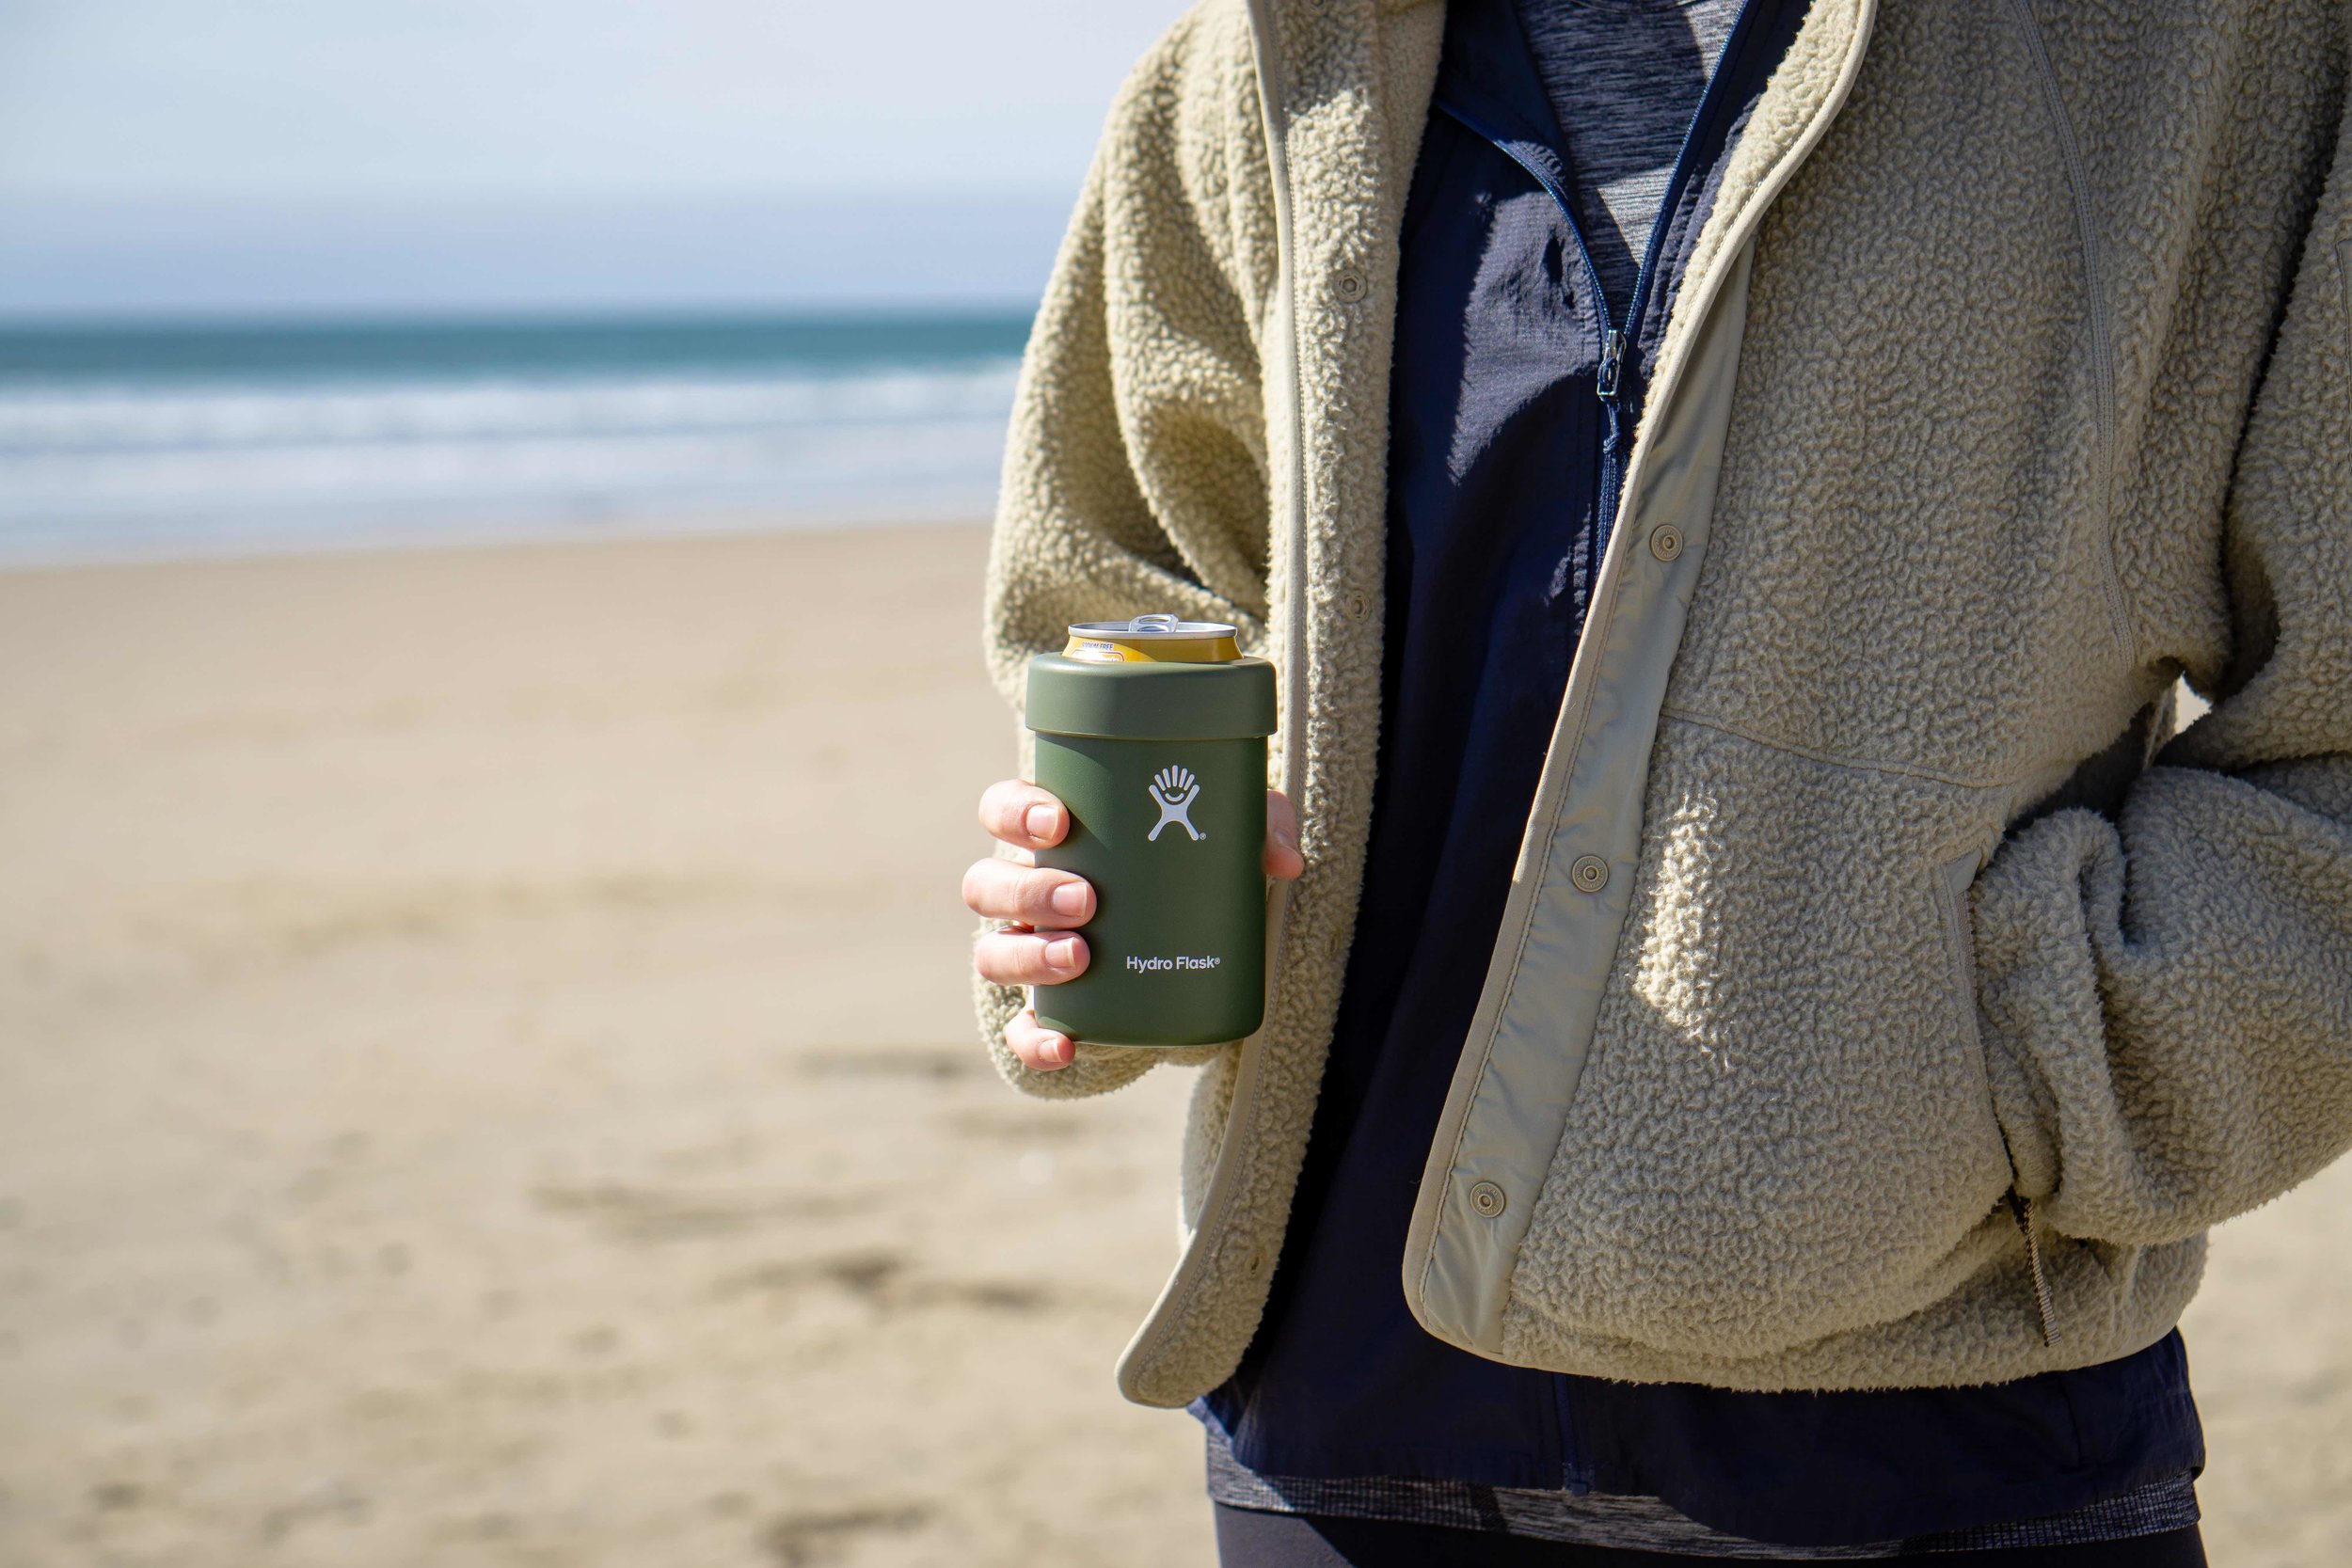
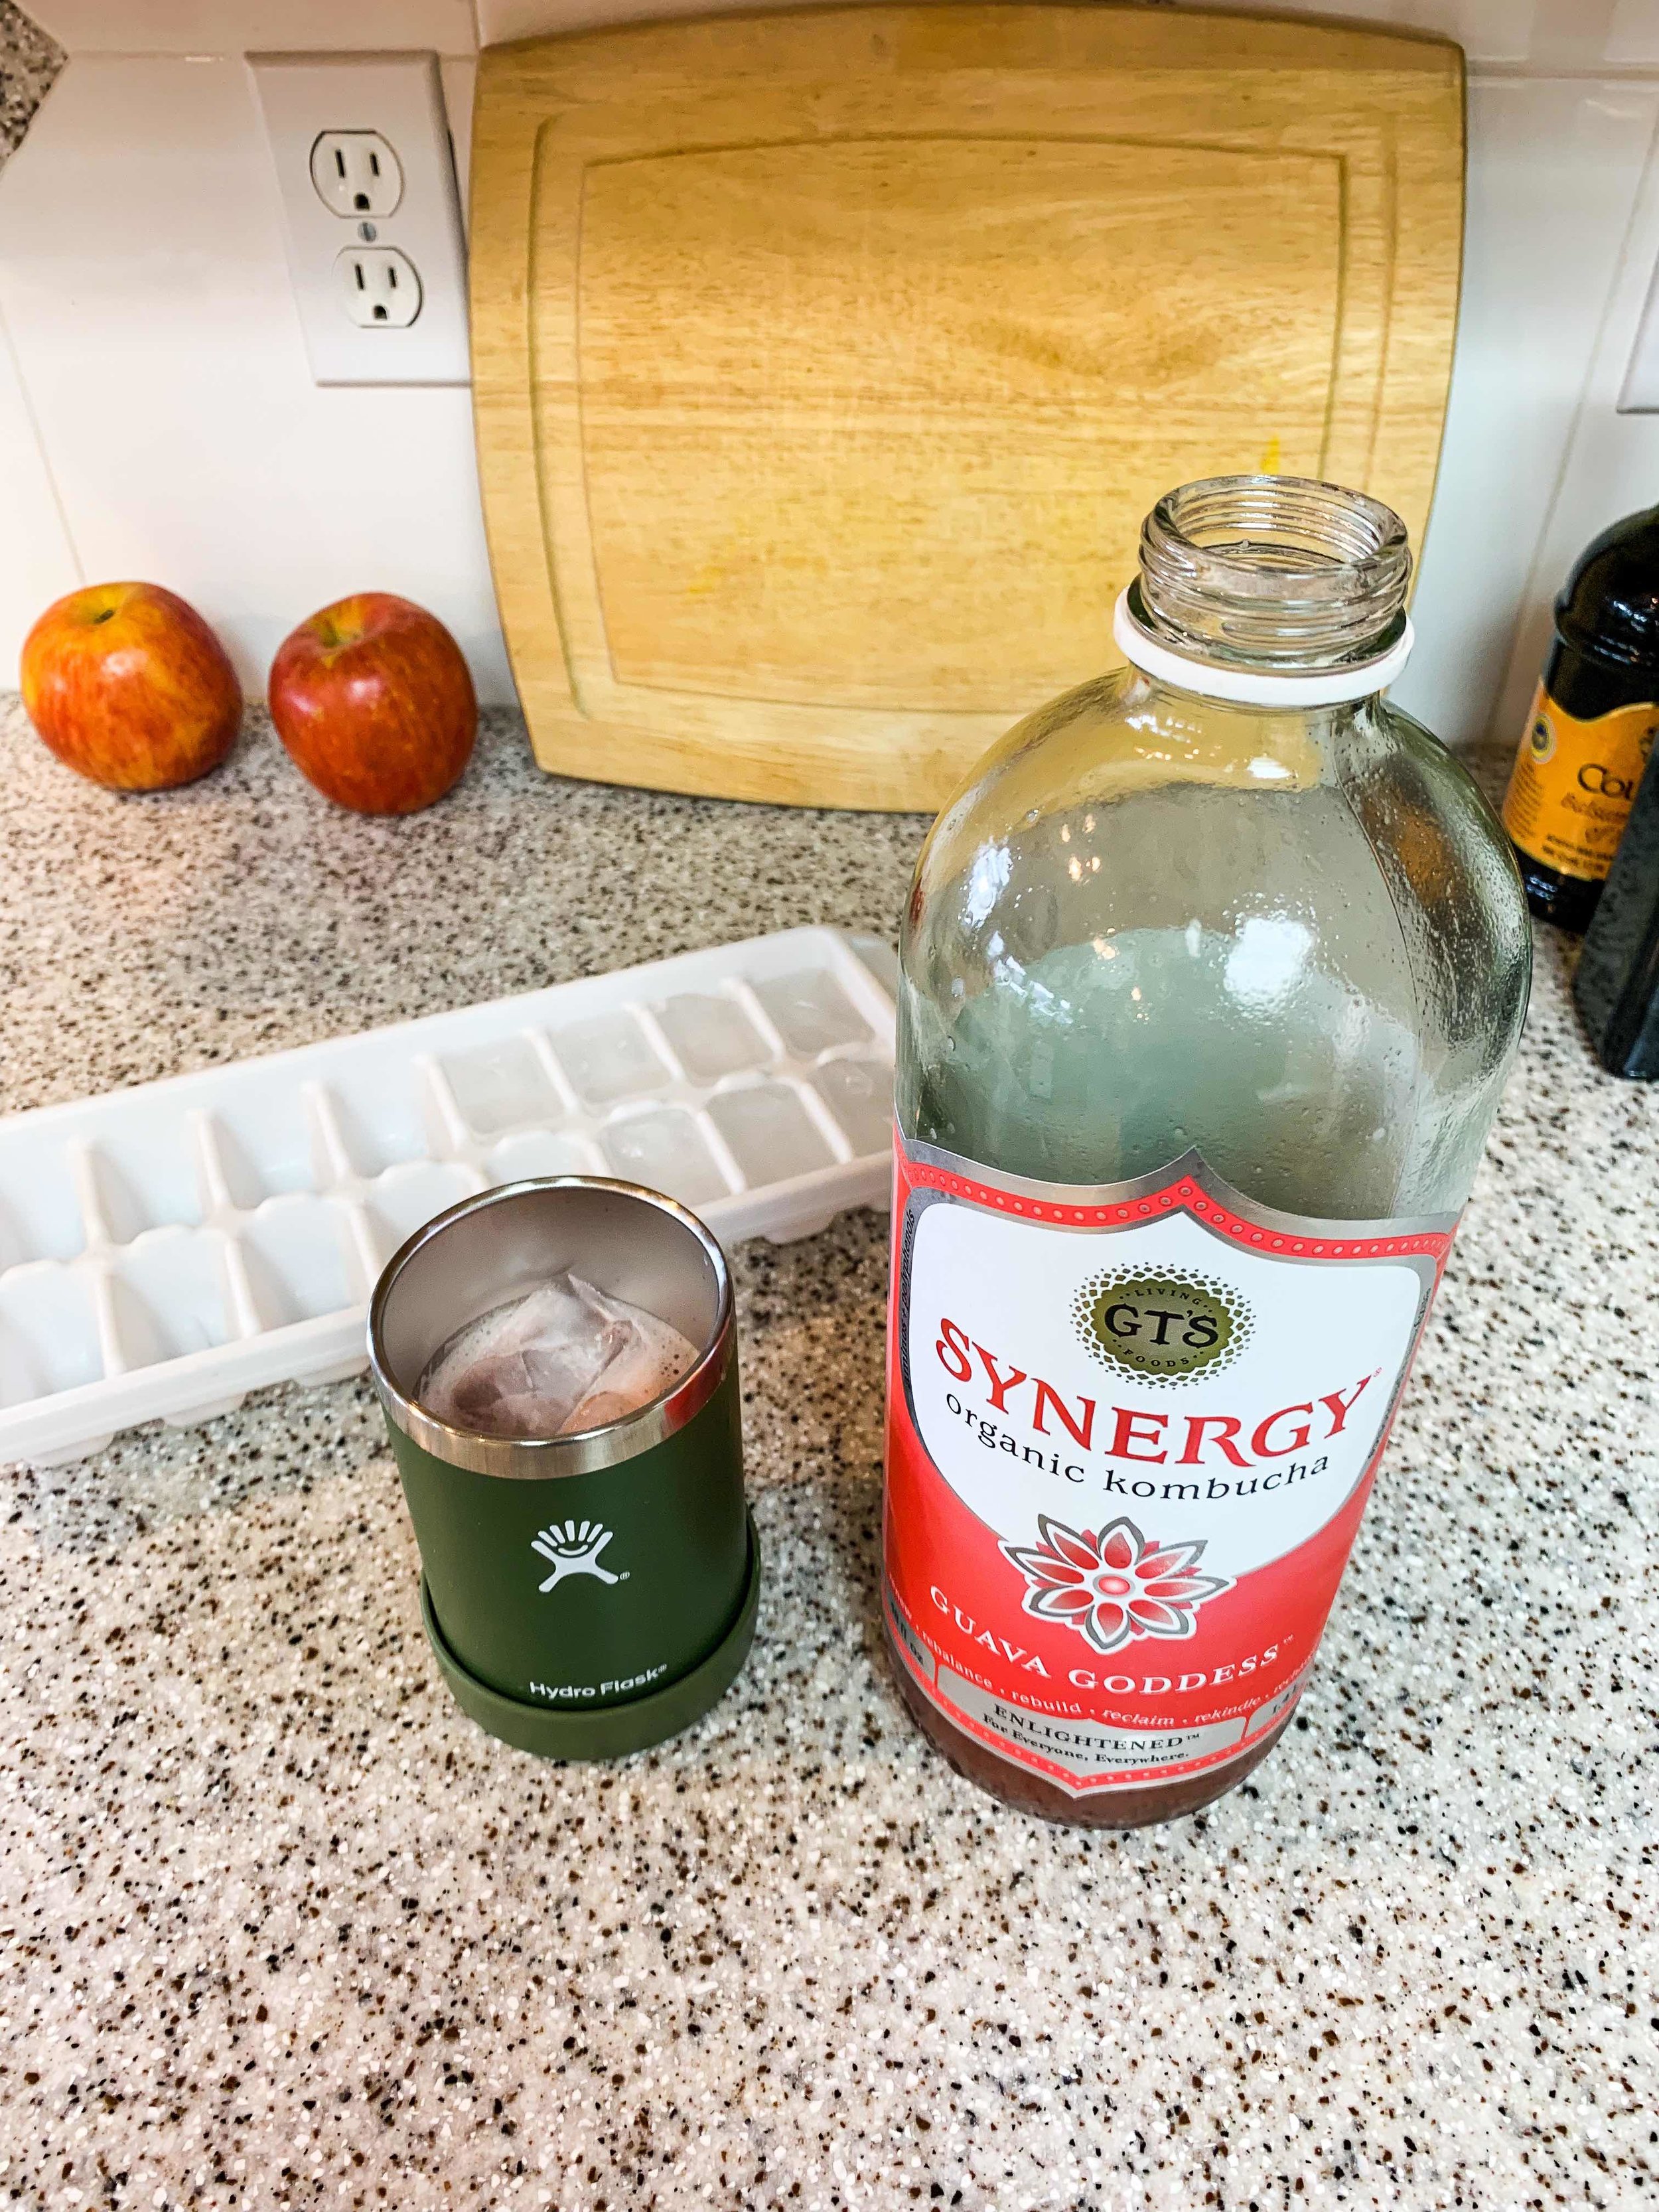
Hydro Flask Cooler Cup
The ultimate win-win.
Works as a 12 oz cup, can cooler and bottle cooler.

My other favorite Hydro Flasks: I use the tumbler cup with straw lid every single day for all kinds of liquids, the coffee flask when I’m on the go in the morning and carry their insulated water bottles with me all the time.
Disclosure: I am a Hydro Flask Ambassador because I LOVE their products and brand. I am a member of their affiliate program because it’s a product I believe in and have no shame telling everyone I know how much I love my flasks and how I think they should have some of their own. And if my friends are going to invest in a new Hydro Flask anyways, why would they not want to put a few pennies in my pocket through the process (at no cost to them)?